
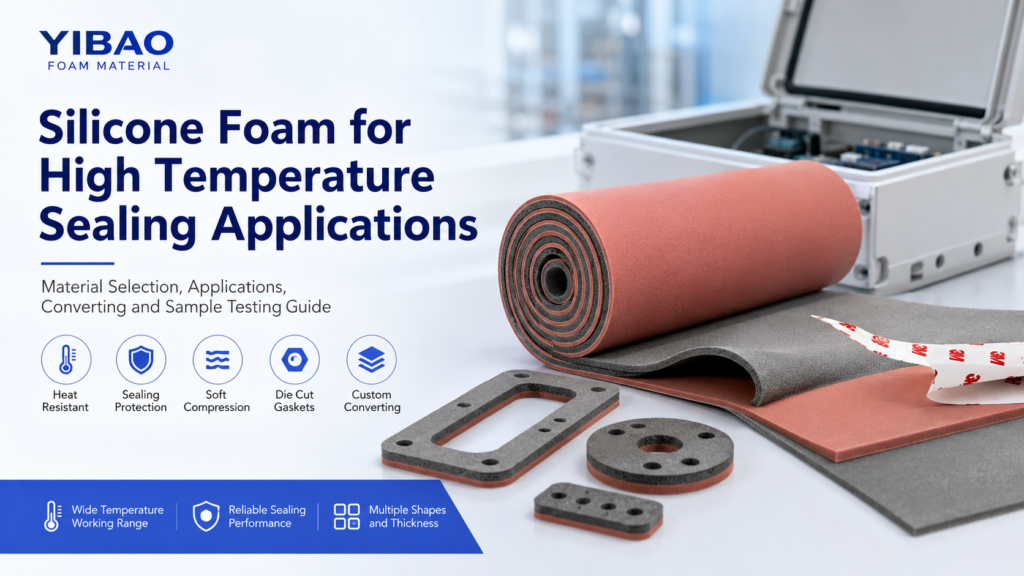
Choosing silicone foam for high temperature gaskets and seals is not a matter of selecting the softest sheet or the highest temperature claim. The useful choice comes from matching the material grade, joint gap, compression behavior, heat exposure, adhesive system, converted shape, and approval test to the real assembly.
How to select silicone foam for high temperature gaskets and seals
Start with the failure that the gasket must prevent. A heat-exposed joint may need to limit dust entry, air movement, splash, vibration, contact noise, or surface damage. Those functions do not require the same contact pressure or part geometry. A material name by itself cannot resolve the joint.
Silicone-based cellular material is a sensible direction when elevated temperature, repeated heating and cooling, low closing force, or continued flexibility are important to the assembly. It is not automatically the best option for every enclosure. A moderate-temperature outdoor seal, for example, may justify a comparison with EPDM-based material, while a load-bearing interface may require a different construction from a soft cellular gasket.
Choose this direction when
The joint operates near heat, the housing cannot tolerate high closing force, and the seal must remain compliant through the expected operating cycle.
Compare another material when
Outdoor weathering, general cushioning, cost direction, oil contact, or structural support matters more than elevated-temperature sealing.
Do not approve by datasheet alone
The final part still depends on grade-specific data, thickness, compressed height, joint tolerance, adhesive, cutting quality, and real-fixture testing.
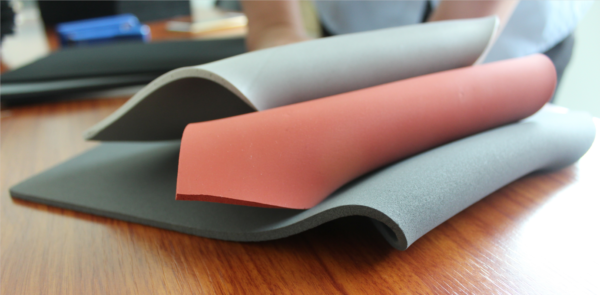
Build the gasket around the gap and available compression
The joint geometry should be reviewed before a sheet thickness is chosen. Record the smallest and largest assembled gap, the locations of screws or clips, the width of the sealing land, corner radii, groove depth, and any areas where the housing can flex. These details show whether the gasket can maintain contact across the whole path.
A thin gasket may fail to cover tolerance variation. A thick or firm gasket may prevent full closure, bow a plastic cover, or concentrate load around fasteners. The practical target is controlled compression across the complete joint, not maximum compression at one easy-to-measure point.
Measure the tolerance range
Use minimum and maximum joint conditions instead of a single nominal gap.
Check closing force
Confirm that screws, clips, hinges, lenses, and thin walls are not overloaded.
Inspect the full contact path
Corners, joints, bosses, and uneven frame sections often reveal weak sealing areas.
Define the service cycle
State whether the cover remains closed, opens for service, or cycles repeatedly.
Match the material to the application risk
Application labels such as “electronics gasket” or “automotive seal” are too broad for approval. The useful question is what can go wrong in that exact assembly. The matrix below turns common project types into testable selection points.
| Project type | Primary risk | What to verify before approval |
|---|---|---|
| LED or lighting housing | Long warm operation, lens or frame distortion, uneven perimeter contact. | Closing force, corner contact, thermal exposure, and seal continuity after cooling. |
| Electronic enclosure | Tight space, sensitive components, thin molded walls, adhesive placement. | Compressed height, housing stress, liner removal, cleanliness, and fit around fasteners. |
| Control cabinet or machine cover | Long sealing paths, uneven frames, vibration, and repeated maintenance. | Strip width, joints, hinge-side compression, repeated opening, and adhesive edge lift. |
| Automotive or mobility assembly | Heat combined with vibration, splash, dust, and installation constraints. | Real-fixture fit, thermal cycling, surface contact, part handling, and project-specific validation. |
| Adhesive-backed gasket | Bond loss, shifting under compression, liner difficulty, or corner lift. | Bonding on the actual substrate, dwell condition, heat exposure, compression stress, and installation method. |
Projects dominated by outdoor weathering rather than elevated temperature should also review the EPDM foam vs silicone foam comparison before fixing the material family.
Write a specification that a supplier can actually quote
Requests such as “soft high-temperature foam, black, with adhesive” leave too many decisions undefined. A useful specification connects the material to the joint, environment, approval method, and converted part.
| Specification item | Information to provide | Approval question |
|---|---|---|
| Heat exposure | Normal range, peak condition, exposure time, heat source, and cycle pattern. | Does the exact grade remain suitable after the planned exposure? |
| Joint geometry | Minimum gap, maximum gap, sealing land, groove, screws, corners, and CAD drawing. | Can one thickness maintain contact without overloading the housing? |
| Sealing function | Dust, air, splash, vibration, noise, cushioning, or combined requirement. | What test will demonstrate the required function? |
| Material construction | Grade, cell structure, thickness, density or firmness direction, surface, and color. | Are all claims tied to the exact sampled grade and thickness? |
| Adhesive and liner | Substrate, surface finish, adhesive side, liner type, pull tab, and installation temperature. | Can operators position the part without stretch, contamination, or corner lift? |
| Compliance | Named test method, target classification, report requirement, market, and final-use condition. | Does the evidence apply to the supplied grade and construction? |
| Converted part | DXF or CAD, tolerances, holes, radii, tabs, packaging, and annual or batch quantity. | Can the part be cut, handled, inspected, and installed consistently? |
Treat flame-retardant language as a specific requirement
“Flame retardant” should not appear as a general marketing adjective. Name the required method, classification, tested thickness, and evidence needed for the project. UL Solutions describes UL 94 combustion testing as a controlled evaluation rather than a universal guarantee for every final assembly.
When a project has a defined flame-related requirement, compare the requested evidence with the exact closed-cell silicone option and confirm applicability before approval.
Choose the converted form before the drawing is frozen
A usable gasket is more than a sheet specification. The part shape determines material yield, cutting stability, liner handling, installation speed, and inspection difficulty. Review the converting route while the gasket geometry can still change.
Die-cut frame gasket
Best considered for perimeter seals with controlled holes, slots, corners, and repeatable placement. Avoid unnecessarily narrow walls and fragile internal features.
Slit strip or foam tape
Useful for long straight paths when strip width, joint design, liner release, and installer alignment are controlled.
Pad or spacer
Suitable for local cushioning, anti-rattle contact, or gap support where the load path does not crush a delicate component.
For drawings that require lamination, adhesive backing, slitting, die cutting, or custom packing, review the available foam converting options before requesting a production quote.
Use a staged sample test instead of one hand-compression check
A flat swatch can compare feel and appearance, but it cannot prove that a finished gasket will seal the assembly. Move through the following stages and record acceptance criteria before bulk production.
1. Material check
Confirm grade identity, thickness, surface, color, cell structure, adhesive construction, and documentation.
2. Dry-fit check
Install strips or prototypes in the real fixture and inspect closure, contact path, corner behavior, and housing stress.
3. Heat exposure check
Use the project-defined temperature pattern, then inspect fit, recovery, surface change, and adhesive movement after cooling.
4. Functional seal check
Verify the actual requirement—such as dust, air, splash, vibration, or noise—using an agreed project method.
5. Production-use check
Review liner removal, placement speed, part stretch, edge damage, packaging, and inspection on the intended assembly process.
Reject or revise a prototype when the cover closes unevenly, fasteners carry visibly different loads, corners lift, the gasket shifts, the liner is difficult to remove, or the seal result depends on unusually careful manual adjustment.
FAQ
Is silicone foam the same as silicone sponge?
The terms are sometimes used broadly or interchangeably in commercial discussions, but the exact construction and grade should be confirmed. Approval should rely on the sampled material specification, cell structure, thickness, and test evidence rather than the product name alone.
How should gasket thickness be selected?
Use the minimum and maximum assembled gap, available closing travel, housing strength, and required contact path. Compare more than one sample thickness in the real fixture instead of choosing from the nominal gap alone.
Can adhesive backing be added?
Adhesive-backed constructions can be evaluated, but the substrate, surface finish, temperature, compression stress, liner, and installation process must be included in the sample test. The adhesive should position the gasket without becoming the only element that keeps a poorly designed joint sealed.
When should EPDM foam be compared with silicone foam?
Compare the two when the project combines sealing, weather exposure, vibration, and moderate heat. The final decision should weigh the actual temperature pattern, outdoor exposure, compression requirement, adhesive system, and finished-part value.
What should be sent for a useful sample or quote?
Send a drawing or CAD file, minimum and maximum gap, operating and peak temperature conditions, sealing purpose, substrate, adhesive need, compliance requirement, tolerance, sample quantity, and expected production quantity. Photos of the joint are useful when they supplement—not replace—critical dimensions.
Move from a material request to a testable gasket specification
Before requesting samples, prepare the joint drawing, gap range, heat profile, sealing target, substrate, adhesive requirement, compliance method, and expected part quantity. That information allows the material and converting review to focus on the real production risk.
- Define the smallest and largest assembled gap.
- Describe continuous, peak, and cycling heat conditions.
- Name the function that the gasket must verify.
- Attach the drawing, adhesive side, tolerances, liner needs, and sample quantity.